Wednesday, 30 March 2011
Blogging for Scrapbookers Day 4
I'm taking my time to get thru the prompts, no rush, no pressure. My life is somewhat slow paced. I work from home (no commute), my work is low-medium pressure, I dont have kids, and I live in a village by the sea. How laid back can a person be? That is why I would classify my Tuesdays as MANIC! I have both glass class AND puppy training. So on Tuesdays I have to keep my eye on the clock. That is why my Wednesdays are especially slow paced ... Alfie is asleep on my feet and I am indulging in my favourites on iPlayer ... today I have listened to a chilling reading of Daphne Du Mauriers The Birds and my next treat is Wuthering Heights. I LOVE Wednesdays!!!
Thursday, 24 March 2011
The grand assembling ... stage 9

Here it is. The different colours and textures of red glass allow different amounts of light to pass, so the effect is very pretty.
Thanks to Shimelle, I have been re-visiting some of my favourite stained glass web sites , and its always nice to share:
http://art-of-stained-glass.com/index.html
http://www.devonartistnetwork.co.uk/MemberHome=McCarthy
http://www.martinyoungstainedglass.co.uk/DomesticStainedGlassCommissionsMartinYoungstainedGlassArtist.html
http://www.redhouseglass.co.uk/index.html
http://www.karendaviesstainedglass.co.uk/
Enjoy!
Thanks to Shimelle, I have been re-visiting some of my favourite stained glass web sites
, and its always nice to share:http://art-of-stained-glass.com/index.html
http://www.devonartistnetwork.co.uk/MemberHome=McCarthy
http://www.martinyoungstainedglass.co.uk/DomesticStainedGlassCommissionsMartinYoungstainedGlassArtist.html
http://www.redhouseglass.co.uk/index.html
http://www.karendaviesstainedglass.co.uk/
Enjoy!
The grand assembling ... stage 8

Add patina ... thats what is in the blue bottle. It gets brushed onto the metal and turns it grey-brown. The shade was then washed with soapy water and (carefully) polished with a soft brush. This makes the metal bright and (hopefully) stops the lead oxidising and turning chalky white.
The grand assembling ... stage 7

Taking great care, make the smoothest, most even seam that I possibly can ... the masking tape stops the solder from running inside (and holds the shade together when I let the seam get so hot teh solder starts to puddle .... whoops!!!)
The grand assembling ... stage 6

Clean then mask the inside of the shade. It was at this point I wondered about making a bowl, look how pretty the inside of the shade is!
Wednesday, 23 March 2011
The grand assembling ... stage 5

I then laid a "bead" of solder along each inside seam. The shade is now assembled, and my next steps will detail the finishing of my shade.
The grand assembling ... stage 4

This is the MOST important step, the shade holder is soldered to the glass. All of the weight of the shade hangs from the holder so I took my time to get this right.
The grand assembling ... stage 3

To get a good finish, the brass shade holder needs to be "tinned" (covered in lead solder). This is a fiddly job and the brass gets VERY hot... wish I could buy them ready tinned!
... wish I could buy them ready tinned!The grand assembling ... stage 2

... remove from the brace board and adjust until the fourth side fits. Add more dots of solder until the shade is rigid. The white spots all over the glass are "spits" of solder, sometimes the solder seems to have lots of impurities and spits all over the place, hence the need to wear old clothes or an apron ... its a messy job!
The grand assembling ... stage 1

Brace on a board with a 90 degree angle and "tack" with solder on three sides ...
Monday, 21 March 2011
Blogging for Scrapbookers
I'm a bit of a fraud doing this class with Shimelle, cos I'm not a scrapbooker. I love CJs and I enjoy making cards, but the thought of 12 x 12 fills me with dread. But I knew I would have a few free days over the next 3 weeks, so taking another Shimelle class, whatever the title, fills me with bliss ... and that's a good enough reason to sign up.
I have been making stained glass since January 2010, and this is my first lampshade. The three hours each Tuesday that I spend in the company of glass and lead and flux are both a time to relax and a time to create. Here are the four finished panels for my shade, tomorrow I begin to assemble ...

I have been making stained glass since January 2010, and this is my first lampshade. The three hours each Tuesday that I spend in the company of glass and lead and flux are both a time to relax and a time to create. Here are the four finished panels for my shade, tomorrow I begin to assemble ...

Allsorts CJ ... on the beach 6 ... RHS

... the final page in my CJ, beautifully captured by LouiseGX


Allsorts CJ ... on the beach 4 ... RHS

... I'm sure to use this haunting poem again ... thanks Fluv AKA Jane


Allsorts CJ ... on the beach ... RHS

... this gives me inspiration for a photo project ... thankyou Gem
Allsorts CJ ... on the beach

I take endless photos of the pier, I'm looking for that "perfect" shot ...
Allsorts CJ ... stained glass ... RHS

... and what an amazing way to scrap the light from my window ... hugs and thanks to HayHayLilybet
Allsorts CJ ... stained glass
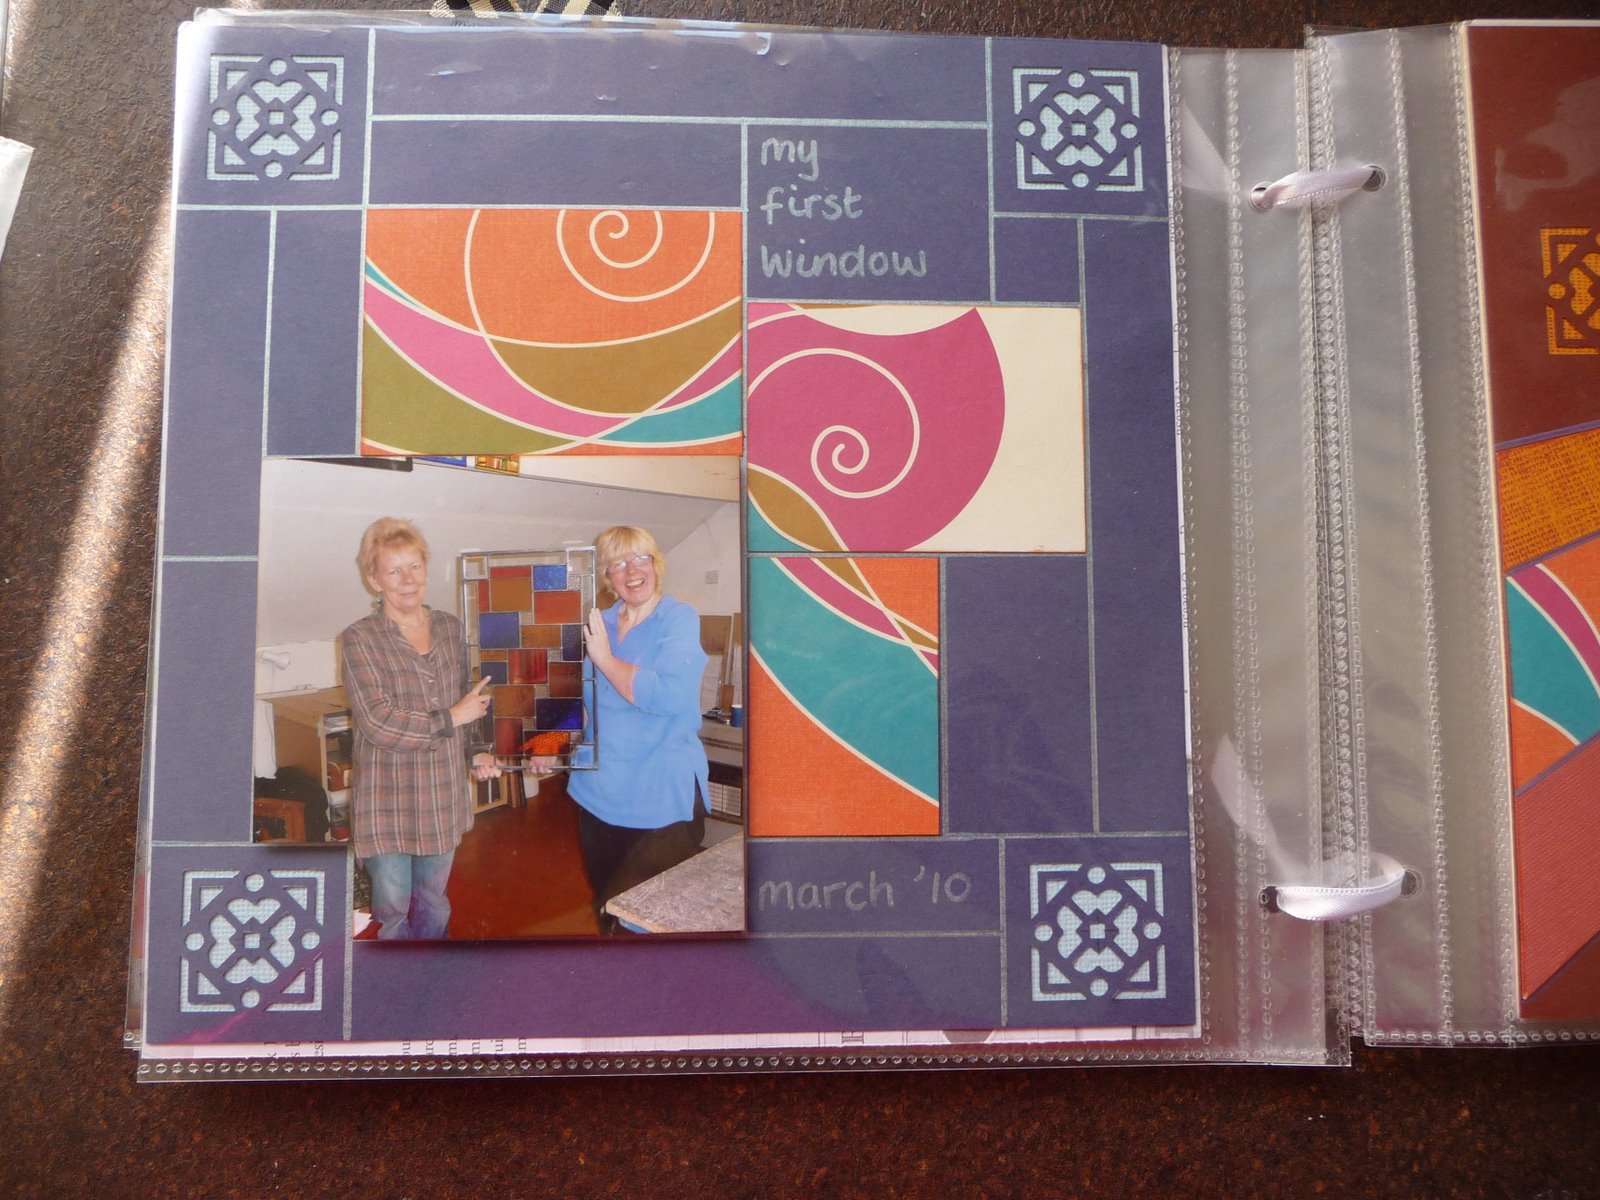
I am proud to be a stained glass artist. This is my tutor, Chloe Buck, and my very first stained glass window ...

Allsorts CJ ... ArtsBank fabric

This is my layout for the CJ ... I was so inspired by jane atkinson that I have made my own fabric-covered table ...
Subscribe to:
Posts (Atom)